


Learn how to swiftly set up a Selenium test cluster using Docker and Selenoid. Selenoid is a powerful tool that launches browsers in isolated Docker containers, making it ideal for automating web application testing. It serves as a Selenium WebDriver protocol implementation and is the primary tool for real browser-based automated testing.
Follow the provided instructions to install and configure Docker, upload the Selenoid Configuration Manager, and run Python tests in parallel with ease. By following these steps, you can quickly set up a cluster for Selenium tests and streamline your web application testing process.
Selenoid source code and documentation: Selenoid
Used:
| Selenoid | Docker | Python |
To get started with running Python tests in parallel using Docker and Selenoid, follow these steps:
- Install Docker on macOS.
- Upload Selenoid, which is a Configuration Manager for Dockerized browsers.
- Start the web-UI and Hub components of Selenoid.
- Execute your Python tests in parallel using the configured Selenoid setup.
In order to install and configure Docker, please refer to the instructions provided HERE. In summary, the process involves creating a profile on Docker Hub, uploading and installing the Docker Desktop application, and logging in through the terminal.
By following these steps, you will be able to successfully install and configure Docker, allowing you to leverage its capabilities for your development and deployment needs.
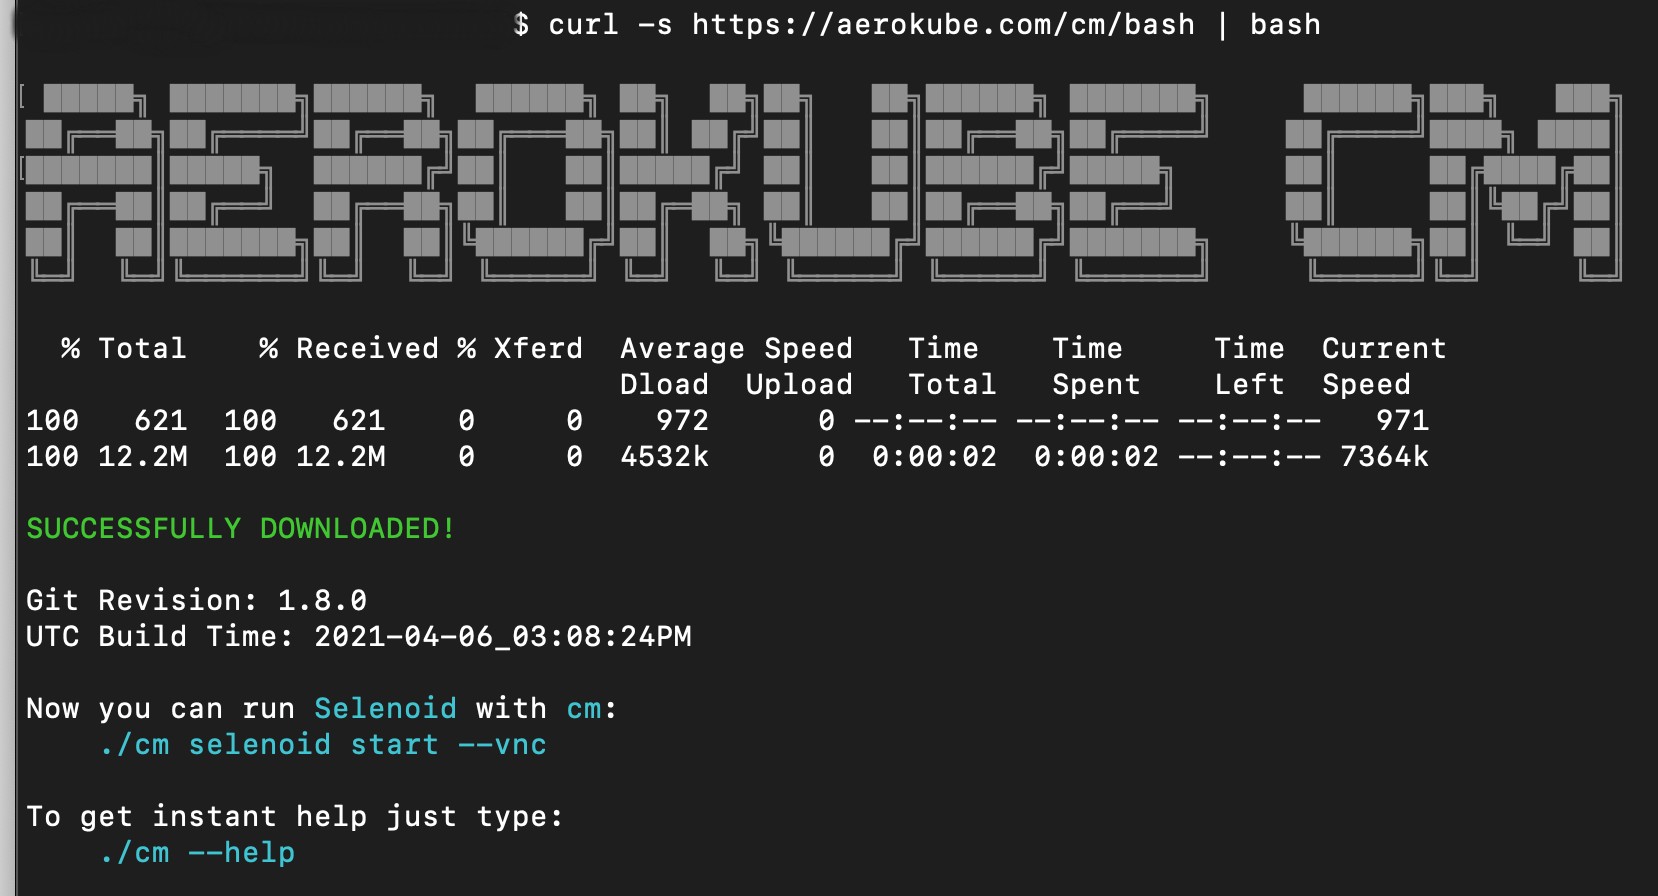
After installing and setting up Docker, the next step is to upload the Configuration Manager utility. This utility is responsible for managing the configuration of your Docker environment.
To upload the Configuration Manager, follow these steps:
curl -s https://aerokube.com/cm/bash | bash |
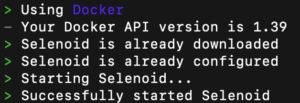
On Linux and Mac OS ./cm selenoid start --vnc |
To override Selenoid listen port add --port flag: ./cm selenoid start --port 4445 |
Selenoid help / stop ./cm selenoid --help ./cm selenoid stop |
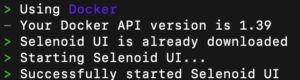
$ ./cm selenoid stop Using Docker - Your Docker API version is 1.39 Stopping Selenoid... Successfully stopped Selenoid $ ./cm selenoid-ui stop Using Docker - Your Docker API version is 1.39 Stopping Selenoid UI... Successfully stopped Selenoid UI |
docker --version docker image ls docker ps -a ipconfig getifaddr en0 |
ls – command list, return all Dockers tom
ps -a – show Docker containers that are currently running
ipconfig – command shows IP address on MacOs
“ls” – Lists files and directories. (Note: For Docker, use “docker ps” to list running containers or “docker images” to list available images.)
“ps -a” – Displays information about all processes, including Docker containers. Shows running and stopped containers.
“ipconfig” – Displays IP configuration on Windows. (For macOS, use “ifconfig” or “ip addr show” for network interface information.)
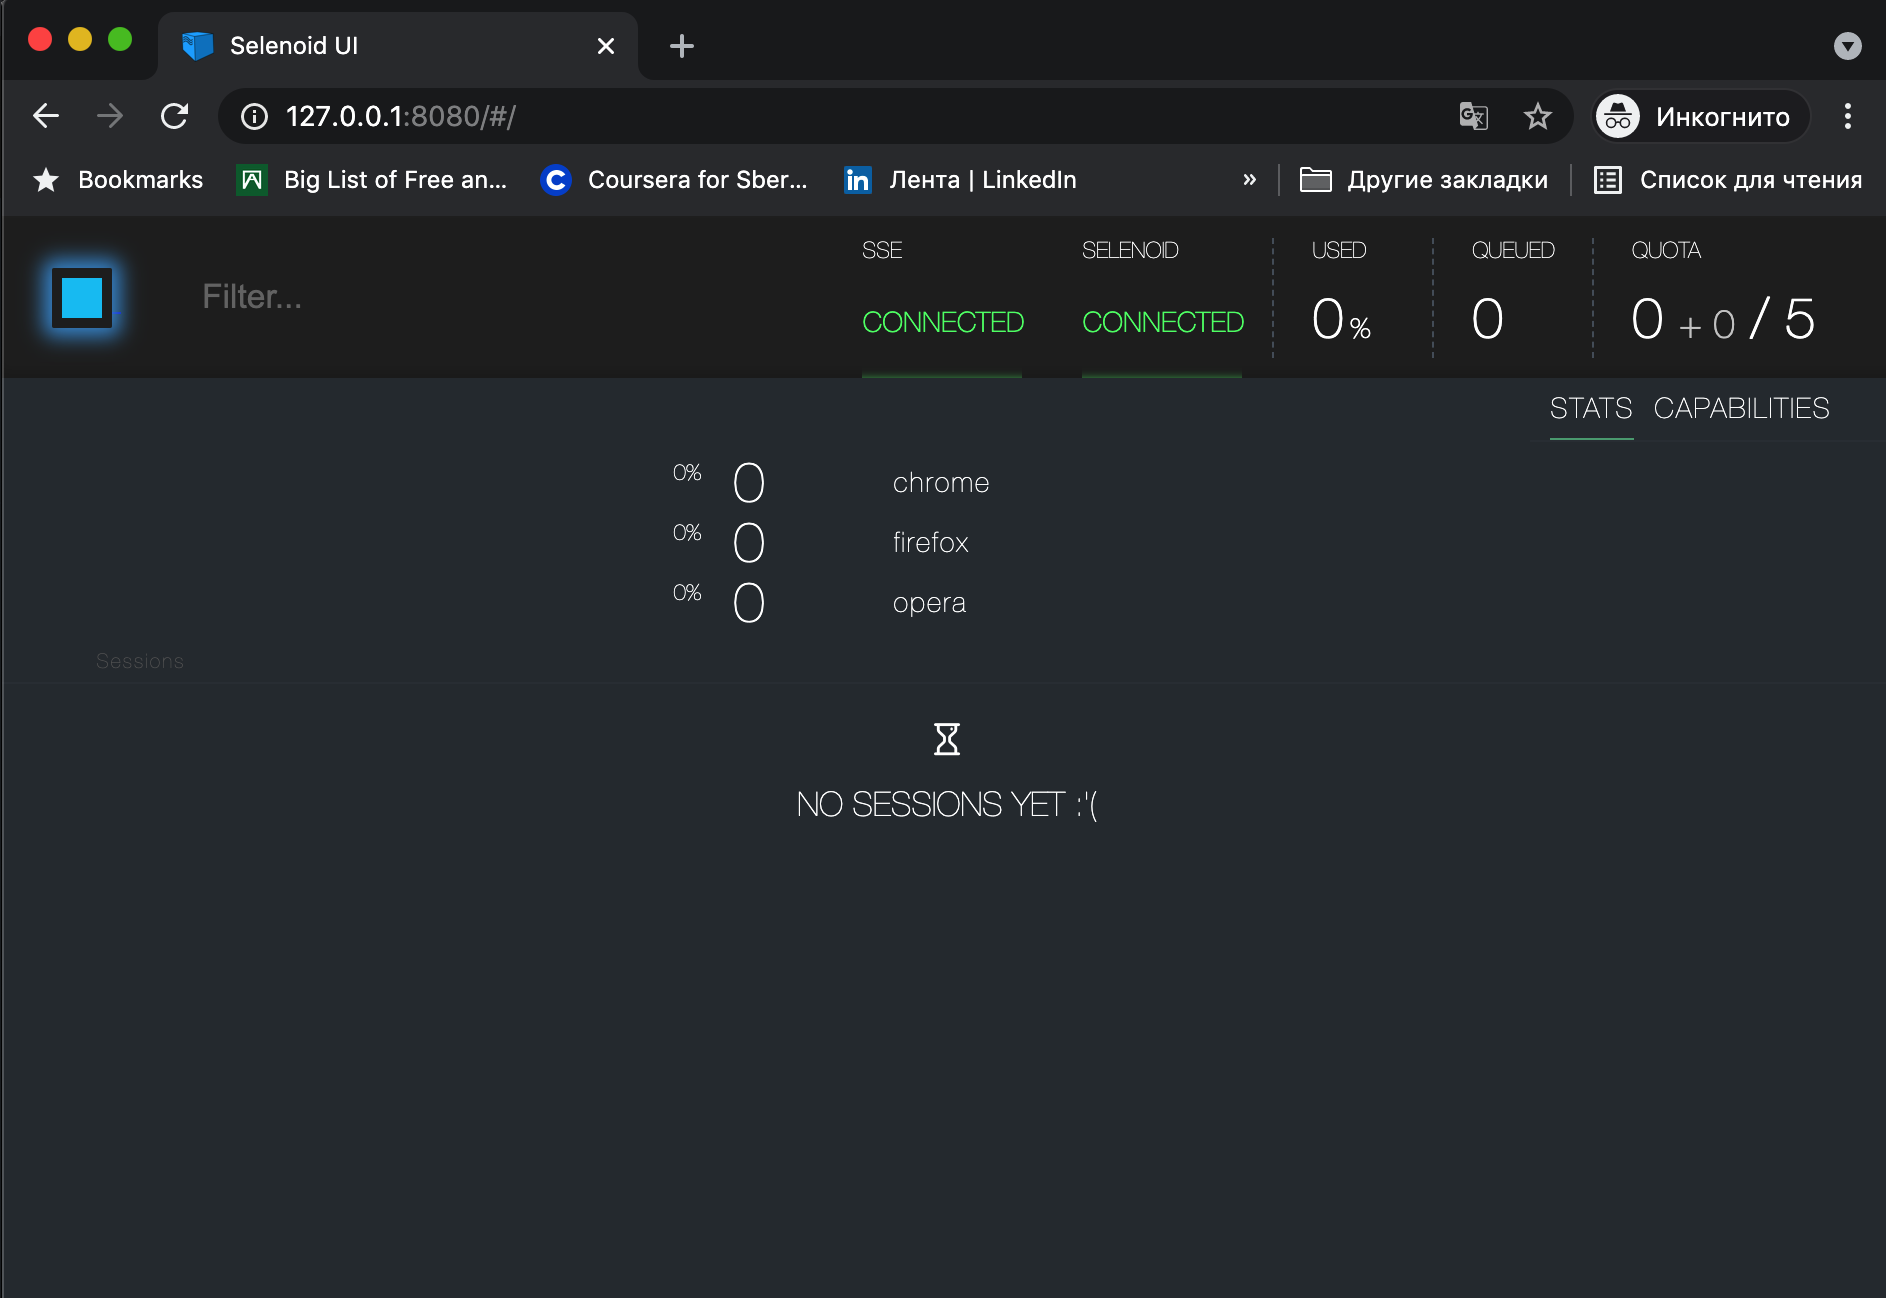
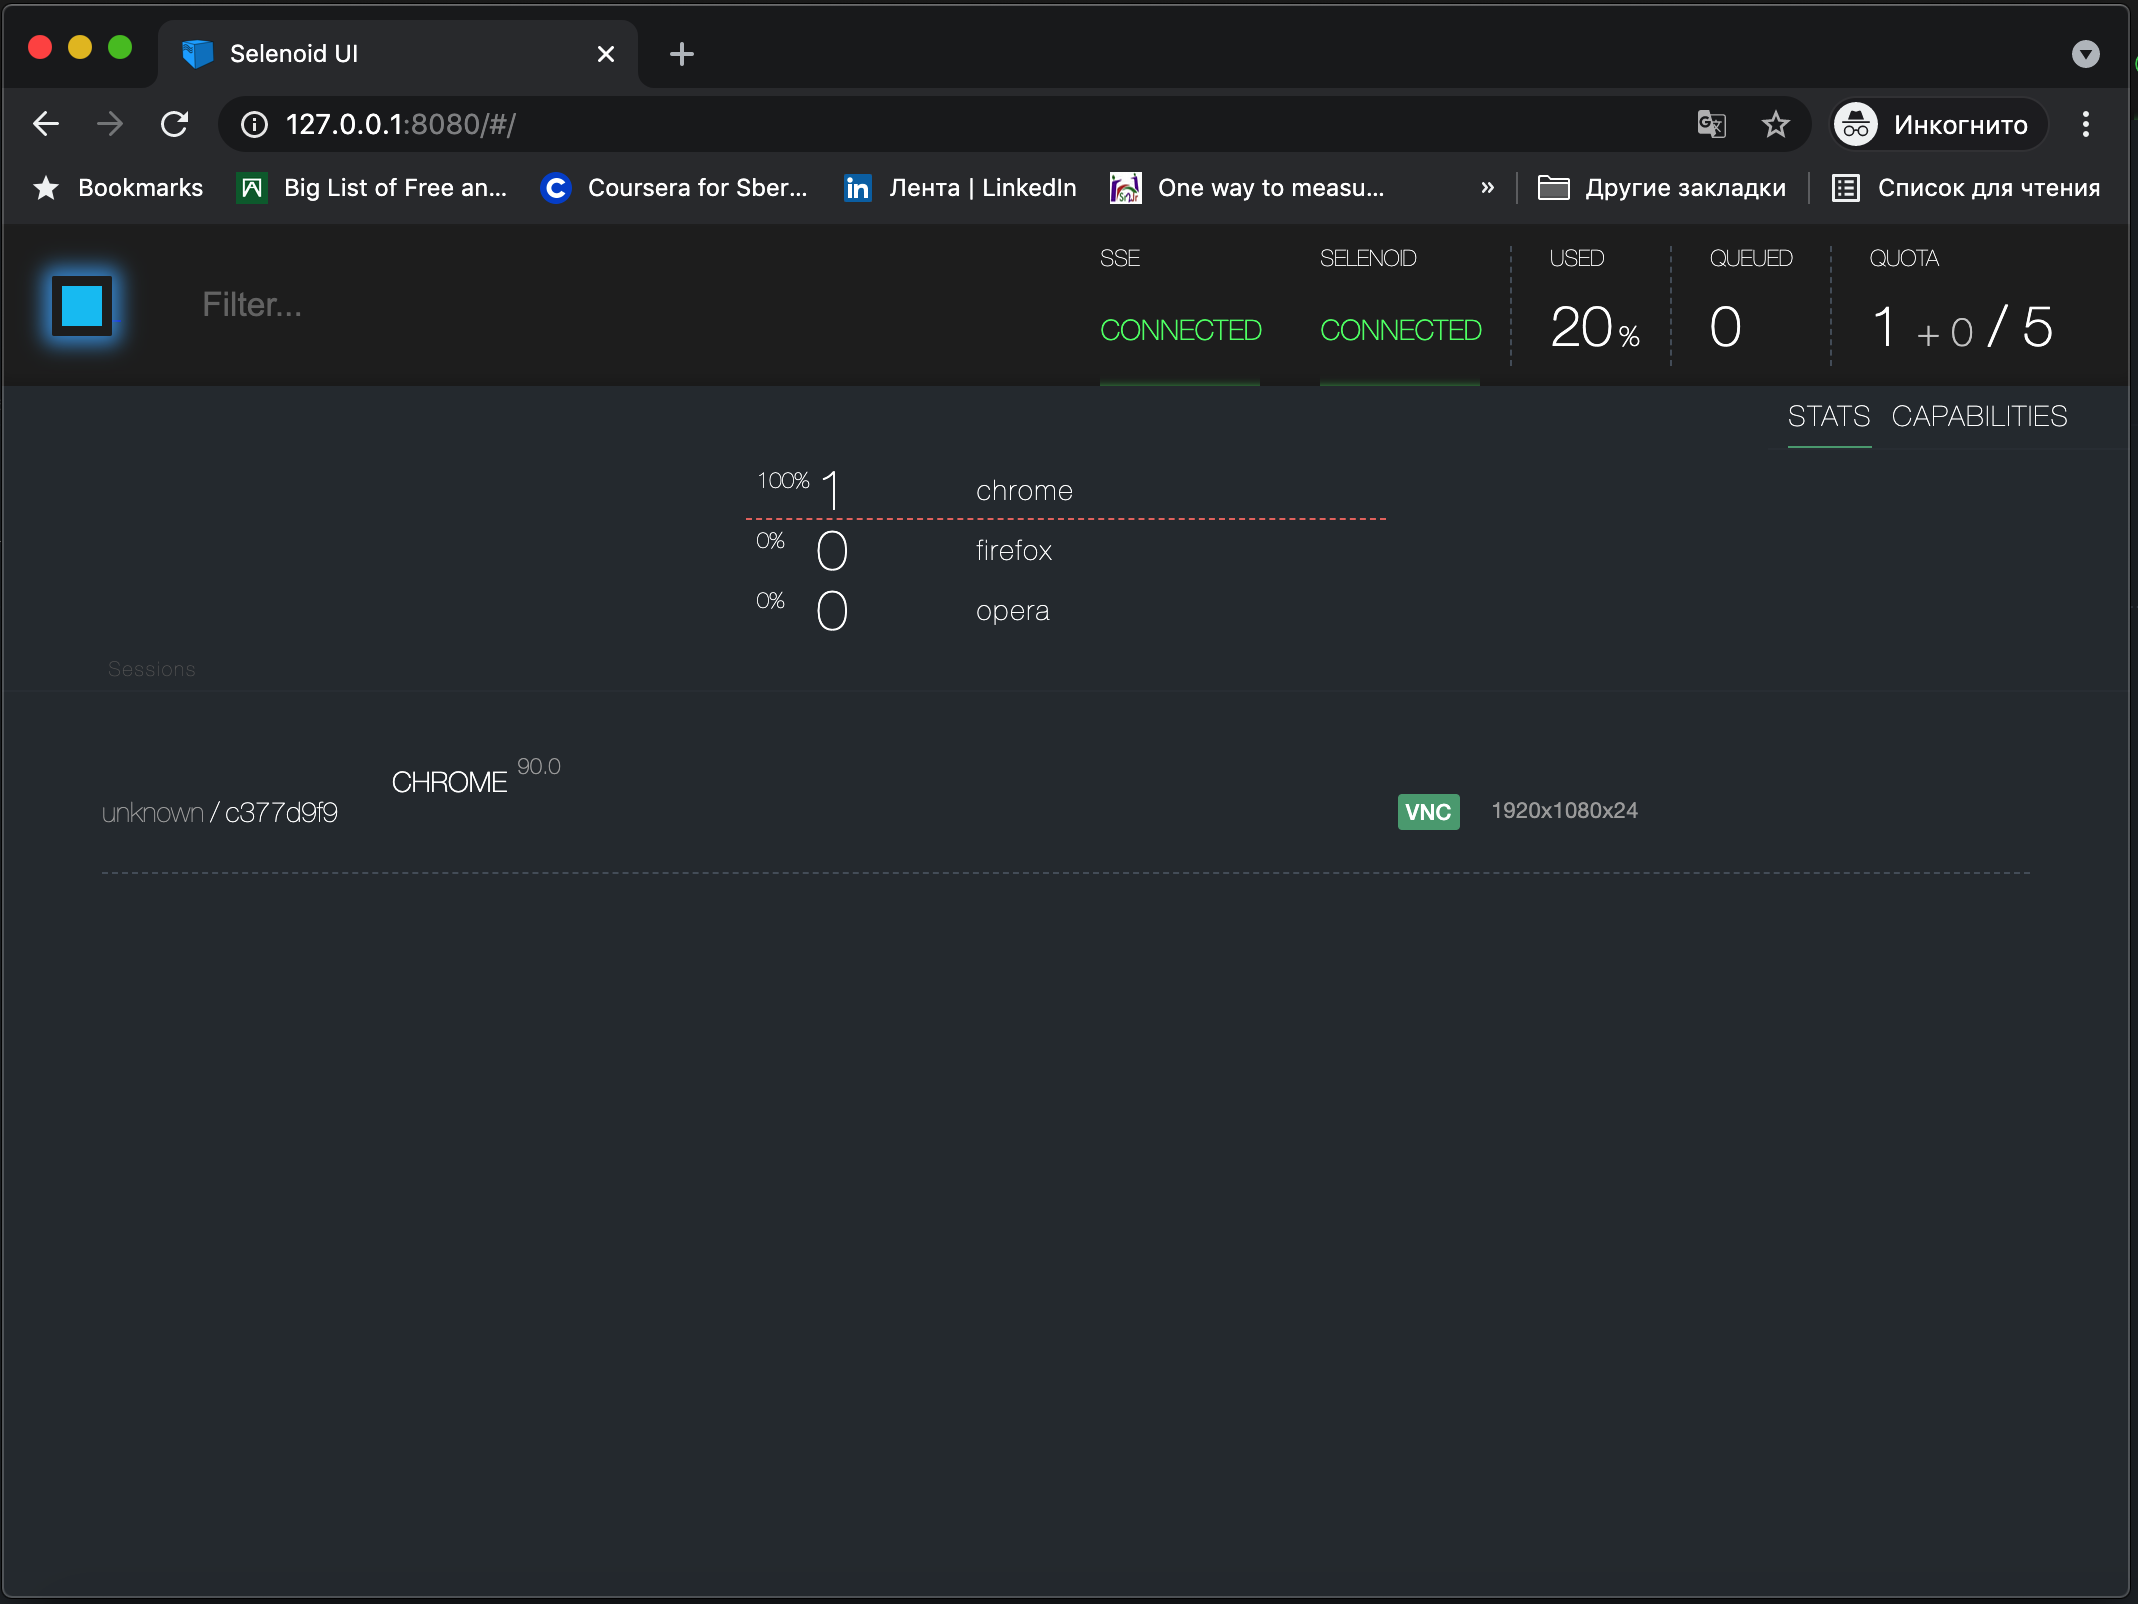
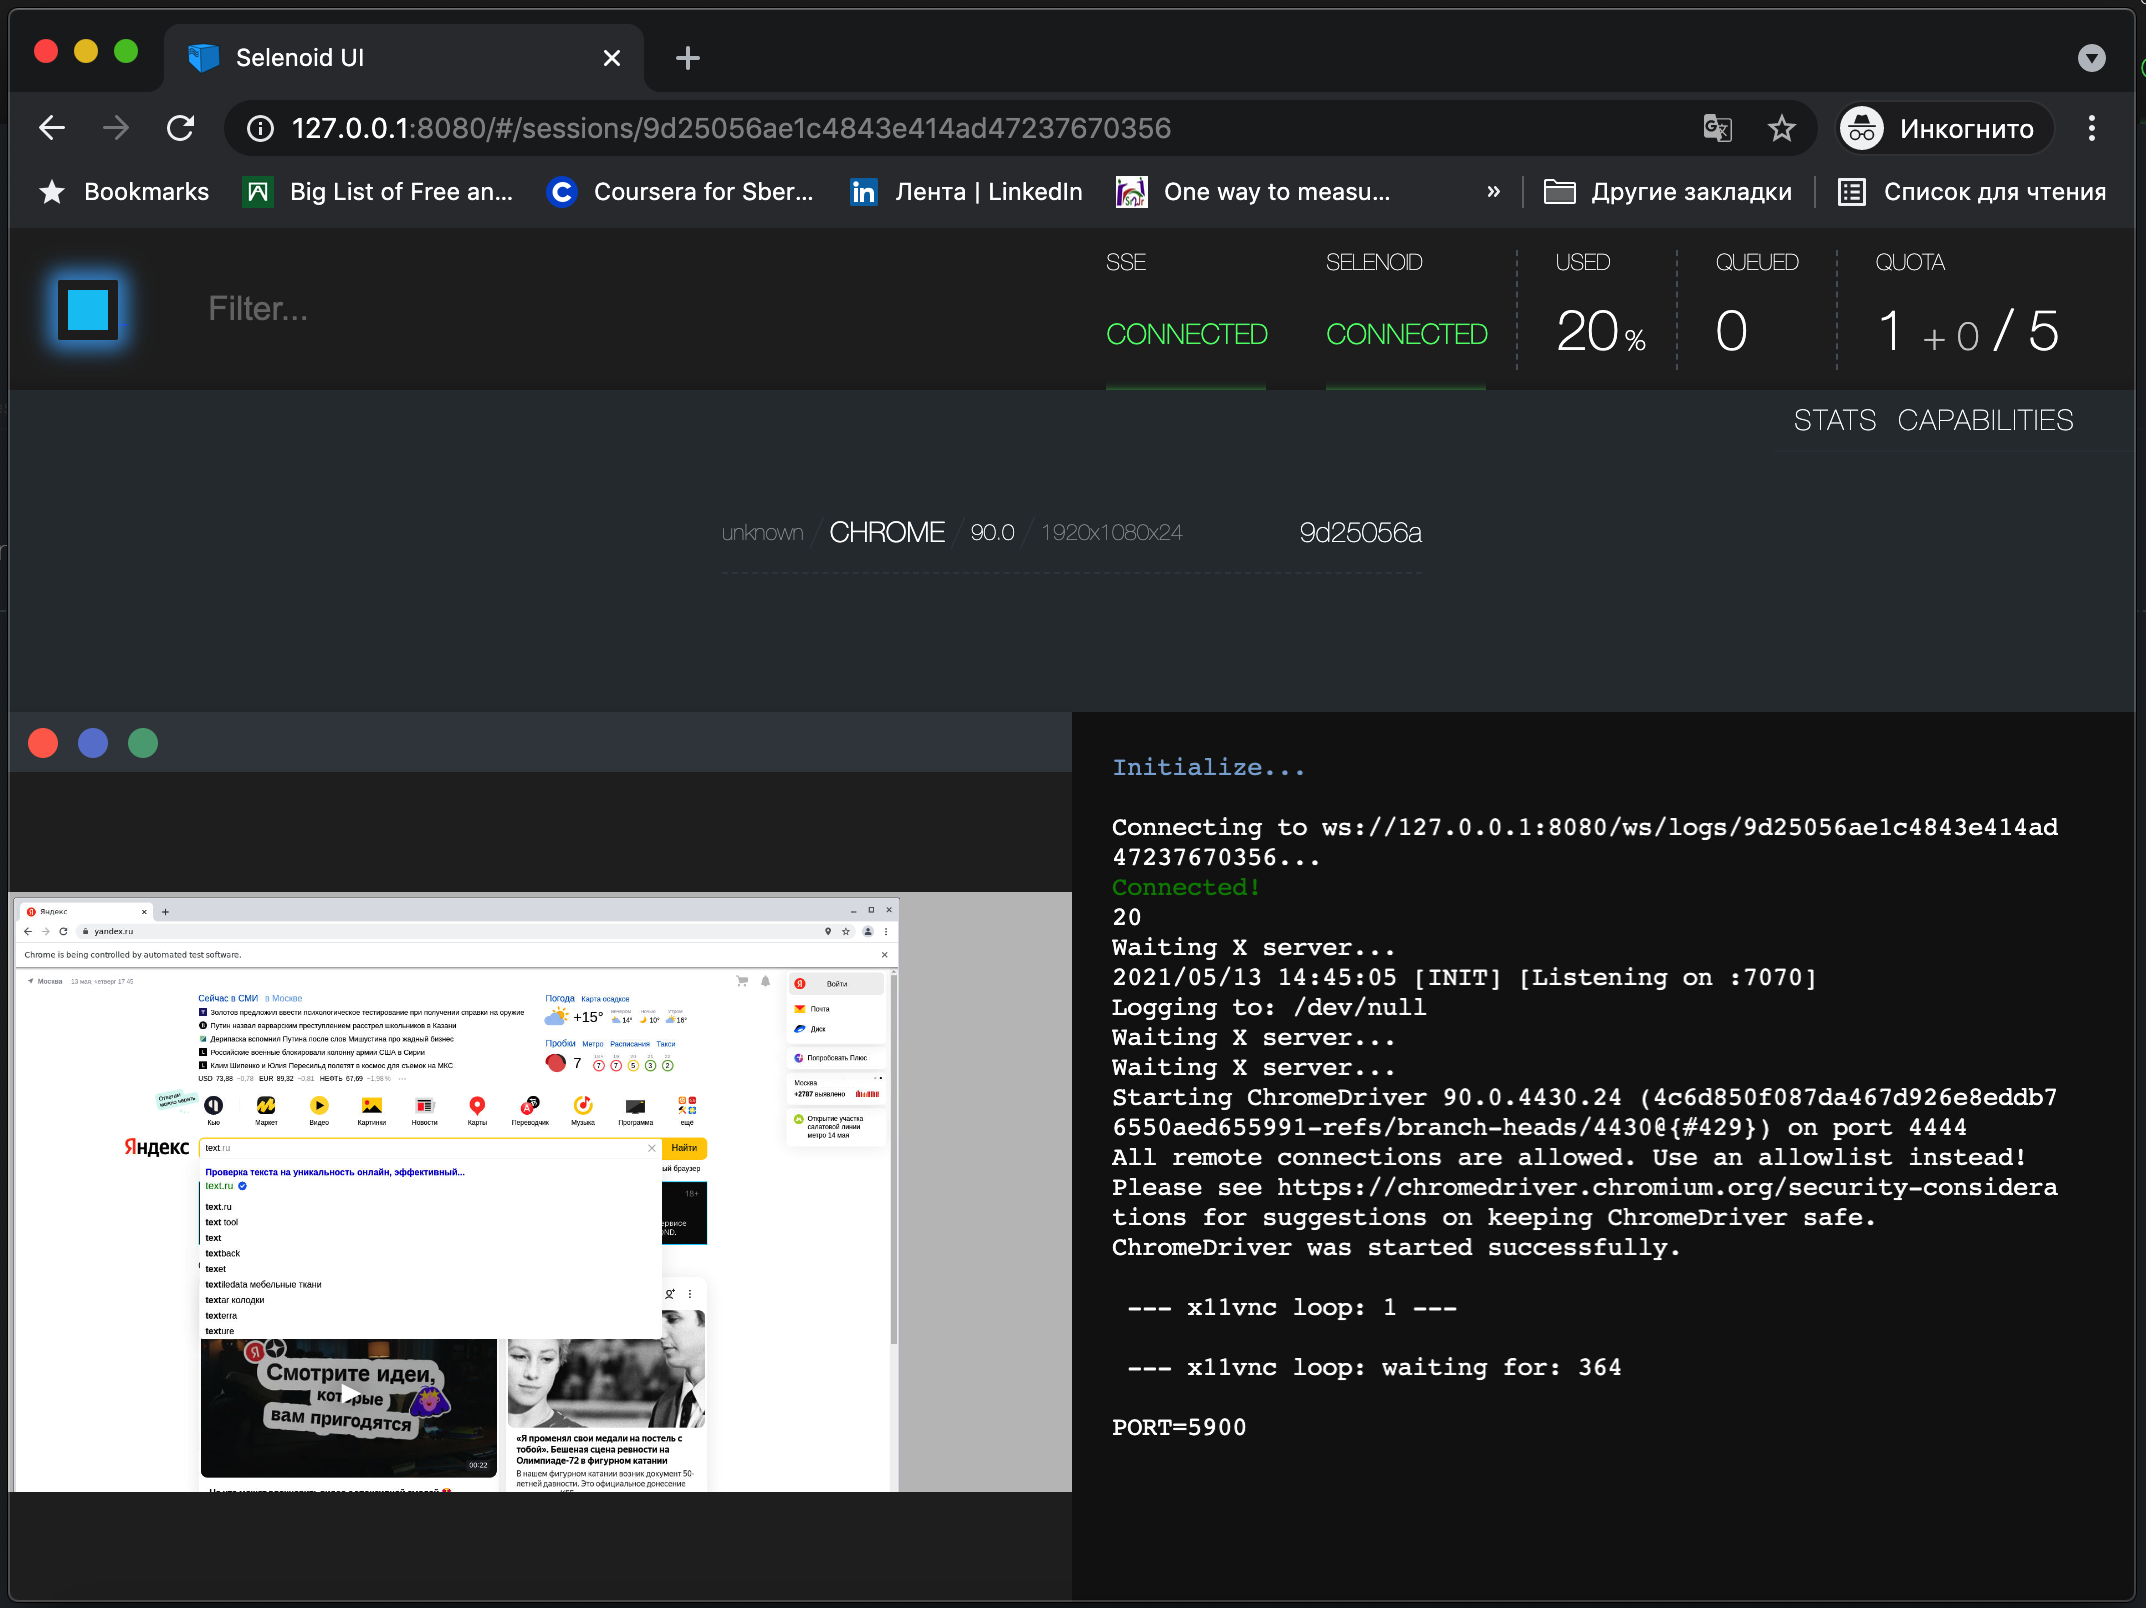
Selenoid Web version, default: http://127.0.0.1:8080/#/
./cm selenoid-ui start |
Test code example:
from selenium import webdriver from selenium.webdriver.common.keys import Keys capabilities = { "browserName": "chrome", "version": "90.0", "platform": "LINUX" } driver = webdriver.Remote( command_executor='http://localhost:4444/wd/hub', desired_capabilities=capabilities ) try: print 'Session ID is: %s' % driver.session_id print 'Opening the page...' driver.get("http://www.python.org") assert "Python" in driver.title elem = driver.find_element_by_name("q") elem.clear() elem.send_keys("pycon") elem.send_keys(Keys.RETURN) assert "No results found." not in driver.page_source print 'Taking screenshot...' driver.get_screenshot_as_file(driver.session_id + '.png') finally: driver.quit() |
python test_selenide.py |
To add or change browser versions, you need to edit the browsers.json configuration file (PATH: .aerokube / selenoid)
{ "chrome": { "default": "91.0", "versions": { "90.0": { "image": "selenoid/chrome:90.0", "port": "4444", "path": "/" }, "91.0": { "image": "selenoid/chrome:91.0", "port": "4444", "path": "/" } } }, "firefox": { "default": "89.0", "versions": { "88.0": { "image": "selenoid/firefox:88.0", "port": "4444", "path": "/wd/hub" }, "89.0": { "image": "selenoid/firefox:89.0", "port": "4444", "path": "/wd/hub" } } }, "opera": { "default": "76.0", "versions": { "75.0": { "image": "selenoid/opera:75.0", "port": "4444", "path": "/" }, "76.0": { "image": "selenoid/opera:76.0", "port": "4444", "path": "/" } } }, "safari": { "default": "14.0", "versions": { "14.0": { "image": "browsers/safari:14.0", "port": "4444", "path": "/" } } } } |
Also upload new browser image:
docker pull browsers/safari:13.0 docker pull browsers/safari:14.0 |
% docker image ls REPOSITORY TAG IMAGE ID CREATED SIZE selenoid/firefox 89.0 aa32a7fb78d4 8 days ago 1.1GB selenoid/chrome 91.0 8f9abf8b7783 2 weeks ago 1.09GB selenoid/opera 76.0 0d581d76417b 5 weeks ago 1.06GB selenoid/firefox 88.0 76d9488c8ee8 7 weeks ago 1.1GB selenoid/chrome 90.0 0e14eff7be65 2 months ago 1.07GB browsers/safari 14.0 4052e42b4cef 2 months ago 918MB selenoid/opera 75.0 4a7ec014e6c0 2 months ago 1.06GB aerokube/selenoid 1.10.3 cb9dc8b9ed2c 2 months ago 16.5MB aerokube/selenoid-ui 1.10.3 8dfa15d6e0d4 3 months ago 17.5MB browsers/edge 89.0 093b827792ac 5 months ago 972MB browsers/edge 88.0 739f028bfc9c 6 months ago 1.62GB browsers/safari 13.0 fec2bd5eda07 11 months ago 753MB selenoid/video-recorder latest-release b7300761e77e 14 months ago 27.4MB |

Congratulations on successfully setting up your Selenium test cluster with Docker and Selenoid! By leveraging Docker’s containerization and Selenoid’s browser launching capabilities, you can automate web application testing efficiently. The article covers the installation and configuration of Docker, uploading the Selenoid Configuration Manager, and executing Python tests in parallel. Enjoy the benefits of a streamlined testing workflow with Docker and Selenoid.